We started the first session of the Hackathon with a basic introductory lesson in HTML and CSS. After making a basic html layout, we added a div element to the body and gave it an ID tag. Mar talked about why we used an ID tag and the differences between a class selector and an ID selector. With the difference being: An ID can be called to identify one element, whereas a class can be used to identify more than one element. Next we called the newly made ID using the #myLayer in CSS and I set it’s width and height to 150px and then used ‘background-color’ to change it’s colour to Blue.
Mar then showed us some external fonts and how we could implement them onto our websites using the Google Fonts website. Once we had chosen our selected font, we then linked it using either CSS or HTML.
- Image 1: Standard link through HTML document
- Image 2: Import through CSS document
- Image 3: Method I used to link the font-family ‘Roboto’


![]()
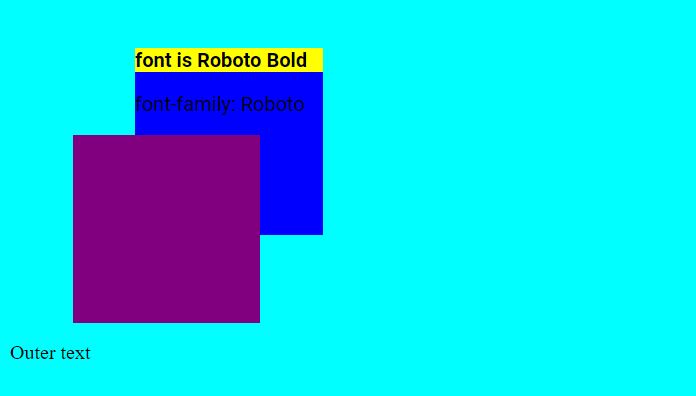
We also used a class tag for the first paragraph and declared the class “.myText” in CSS to change the background-color to yellow. We did this to show the paragraph elements content area.

After adding our custom fonts, we introduced another div element into our HTML document, set an ID tag for it and then declared it in CSS to change it’s features like width, height and background-colour. This made another box in the colour Purple, which we then positioned using mode relative in combination with “top” and “left” attributes. Mar then brought up the Z-Index and how it can be used to layer elements on a webpage.
Mar briefly talked about using animations with CSS.
