This lecture was an optional class, as it was directed more towards the level 6 students. I wanted to go because I thought it would help teach me some useful interactive elements that I could later impliment into my web-portfolio. In this session Mar first introduced p5.js and showed us a good resources for finding examples and then to experiment with them using the p5.js web editor.
I started off by making a simple square by using: rect(30, 30, 75, 60);
I added a fill and stroke to our square using: fill(0, 255, 0); / stroke(255, 0, 0);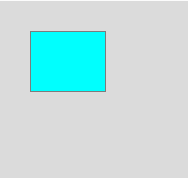
Next we added an ellipse with the same properties, that could also follow our cursor: ellipse(mouseX, mouseY, 90, 60); 
By simply commenting out or removing the background, it gave our shape a trail effect.
Next we used a conditional if and else statement to change between shapes depending on which half of the screen the mouse was on.
if (mouseY<200){
fill(180, 0, 180);
stroke(0, 0, 255);
ellipse(mouseX, mouseY, 90, 60);
}else{
fill(0, 255, 255);
stroke(125, 125, 125);
rect(mouseX, mouseY, 75, 60);
}
Using mouseY or mouseX determines the axis of which the mouse needs to be moving in order to trigger the change in shape. <200 is simply less than and halfway in-between our 400px canvas, so once the cursor is greater than 200 the shape changes.


Next Mar showed us how to make a loop using variables. The condition for the variable i states that if i is equal to or less than 100, then it will increase it’s value by 1 (++). This prints the variable to the console until i is greater than 100 and it stops printing i. It was noted by Mar that the count always starts from 0, so printing one hundred times will result in the console returning 99.

To visualize what was happening, Mar added line(0, i*5, 100, i*5); to the code. This printed lines on the canvas for each incremented value. After changing around the values to see what they did, I found that changing the number in both ‘i*5‘s altered the spacing between each line. I then changed the width and height of the canvas to 500px as each line was separated by 5 lines worth of space (5px), meaning all 100 lines (100*5) could fit onto a canvas of 500px. (as shown below)


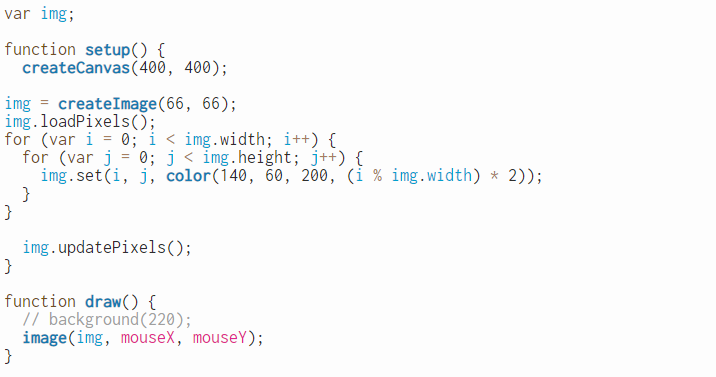
After this, Mar used an example called array of objects from the p5.js examples page. We copied this over to our p5.js editor and added some extra code so we could interact with the objects by hovering over them using our mouse.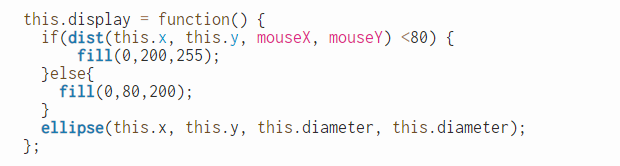 After this I made some minor alterations to the code. I change the colours for both the fill and the background and then increased the object count and set the radius for the hover to <80 so it triggers more objects to fill.
The last task consisted of making…
Bibliography:
P5js.org. (2018). p5.js | home. [online] Available at: https://p5js.org/ [Accessed 15 Oct. 2018].
Editor.p5js.org. (2018). p5.js Web Editor. [online] Available at: https://editor.p5js.org/ [Accessed 15 Oct. 2018].
P5js.org. (2018). p5.js | examples. [online] Available at: https://p5js.org/examples/ [Accessed 15 Oct. 2018].
P5js.org. (2018). p5.js | examples. [online] Available at: https://p5js.org/examples/objects-array-of-objects.html [Accessed 15 Oct. 2018].
